Mobile & Desktop SIP Softphones
In addition to our browser-based Web Softphone, you can install dedicated VoIP softphone apps on your smartphone or computer to answer and place calls through your remote SIM cards anywhere in the world.
Account Parameters Checklist
When setting up any softphone application, you will need the credentials configured in your Asterisk / FreePBX extension:
| Parameter | Description | Example Value |
|---|---|---|
| Display Name | Your name or caller ID | John Doe |
| Username / Extension | Asterisk Extension number | 1001 |
| Password / Secret | SIP Secret for the extension | <YOUR_SIP_PASSWORD> |
| SIP Server / Domain | Server hostname and port | sip.yourdomain.com:5060 |
| Transport | Network protocol | UDP (or TLS if configured) |
| NAT Keep-Alive | Keeps cellular firewall port open | Always Send / Enabled |
1. Apple iOS (iPhone)
We recommend either SessionTalk or Zoiper Lite on iOS for reliable push notifications and battery-efficient background operation.
Option A: SessionTalk SIP Softphone (Recommended)
- Install SessionTalk SIP Softphone from the App Store.
- Tap Settings → Manage Accounts → Add Account → Generic SIP.
- Configure the following fields:
- Account Name:
RemoSIM - Display Name: Your Name
- User Name: Your Extension (e.g.
1001) - Password: Your SIP Secret
- Domain / Host:
sip.yourdomain.com:5060
- Account Name:
- Under Advanced Settings:
- IP Version:
IPv4 - UDP Keepalive:
Enabled
- IP Version:
- Tap Save. The account indicator turns green when registered.
Option B: Zoiper Lite on iOS
- Install Zoiper Lite from the App Store.
- Go to Settings → Accounts → + → Yes → Manual Configuration → SIP account.
- Enter your account details:
- Account name:
RemoSIM - Domain:
sip.yourdomain.com:5060 - User name:
1001 - Password: Your SIP Secret
- Account name:
- Go to Network Settings and ensure Enable IPv6 is set to NO.
2. Android
Option A: Zoiper VoIP Client
- Install Zoiper IAX SIP VOIP Softphone from the Google Play Store.
- Open Zoiper and click Use free with ads (or enter your license).
- In the setup wizard:
- Enter your
username@sip.yourdomain.com:5060 - Enter your SIP password
- Enter your
- Select SIP UDP as the transport provider.
Option B: Native Android SIP (Samsung/Google where available)
Some Android firmware builds contain a built-in SIP client:
- Open the stock Phone application.
- Tap the three dots menu → Settings → Calling accounts → SIP accounts.
- Tap + to add an account:
- Username: Your Extension
- Password: Your SIP Secret
- Server:
sip.yourdomain.com:5060 - Under Optional settings, set Send keep-alive to
Always send.
3. macOS (Apple Mac)
On macOS, the lightweight Telephone app is free and straightforward:
- Install Telephone from the Mac App Store.
- Open Telephone → Preferences → Accounts → +:
- Full Name: Your Name
- Domain:
sip.yourdomain.com:5060 - User Name: Your Extension
- Password: Your SIP Secret
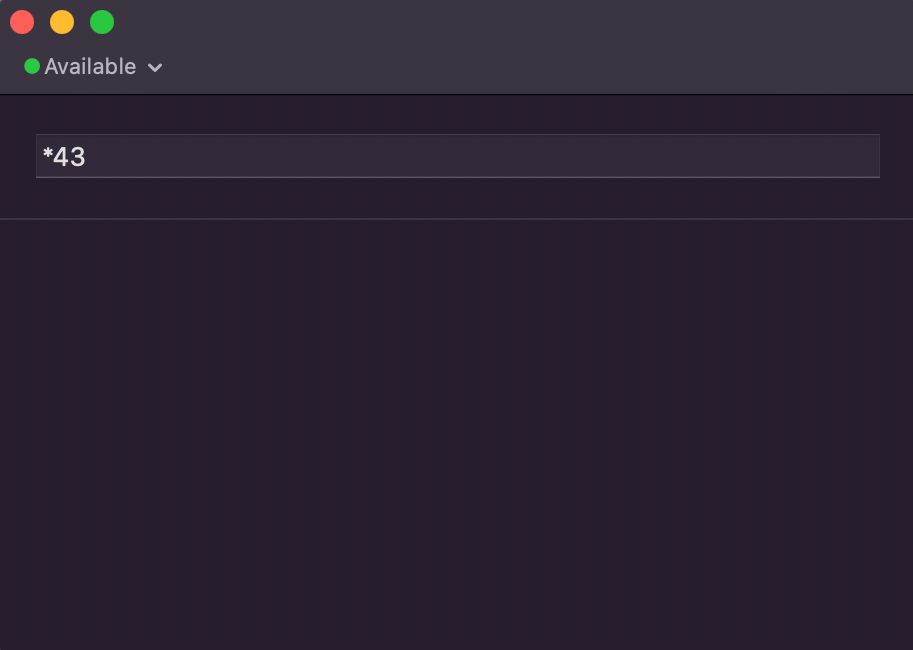
- Check Use this account. Once registered, the status bar will display Available:
4. Windows & Linux Desktop
For Windows or Linux workstations, you can use Linphone or Jitsi Desktop:
- Download and run the installer for your operating system.
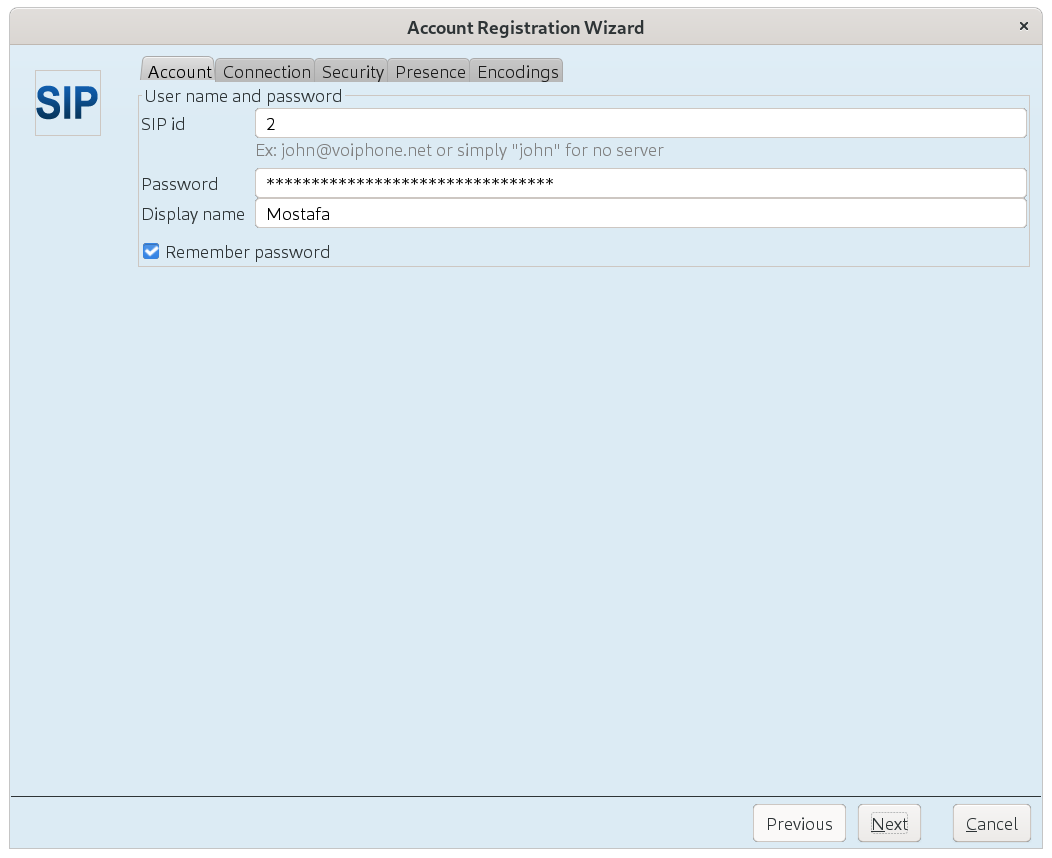
- Select Add a SIP Account:
- SIP ID:
1001@sip.yourdomain.com - Password: Your SIP Secret
- Proxy:
sip.yourdomain.com:5060 - Transport:
UDP
- SIP ID:
5. Verifying Connection: Asterisk Echo Test
After configuring your softphone client, always verify two-way audio by placing an echo test call:
- Dial
*43on your softphone dialpad. - Speak into your headset or microphone.
- You should hear your own voice echoed back immediately.
- If you hear the prompt but not your voice, check microphone permissions.
- If the call drops after 5 to 30 seconds or there is no audio in either direction, verify your RTP port forwarding (UDP ports
10000-20000) and STUN/TURN configuration.